
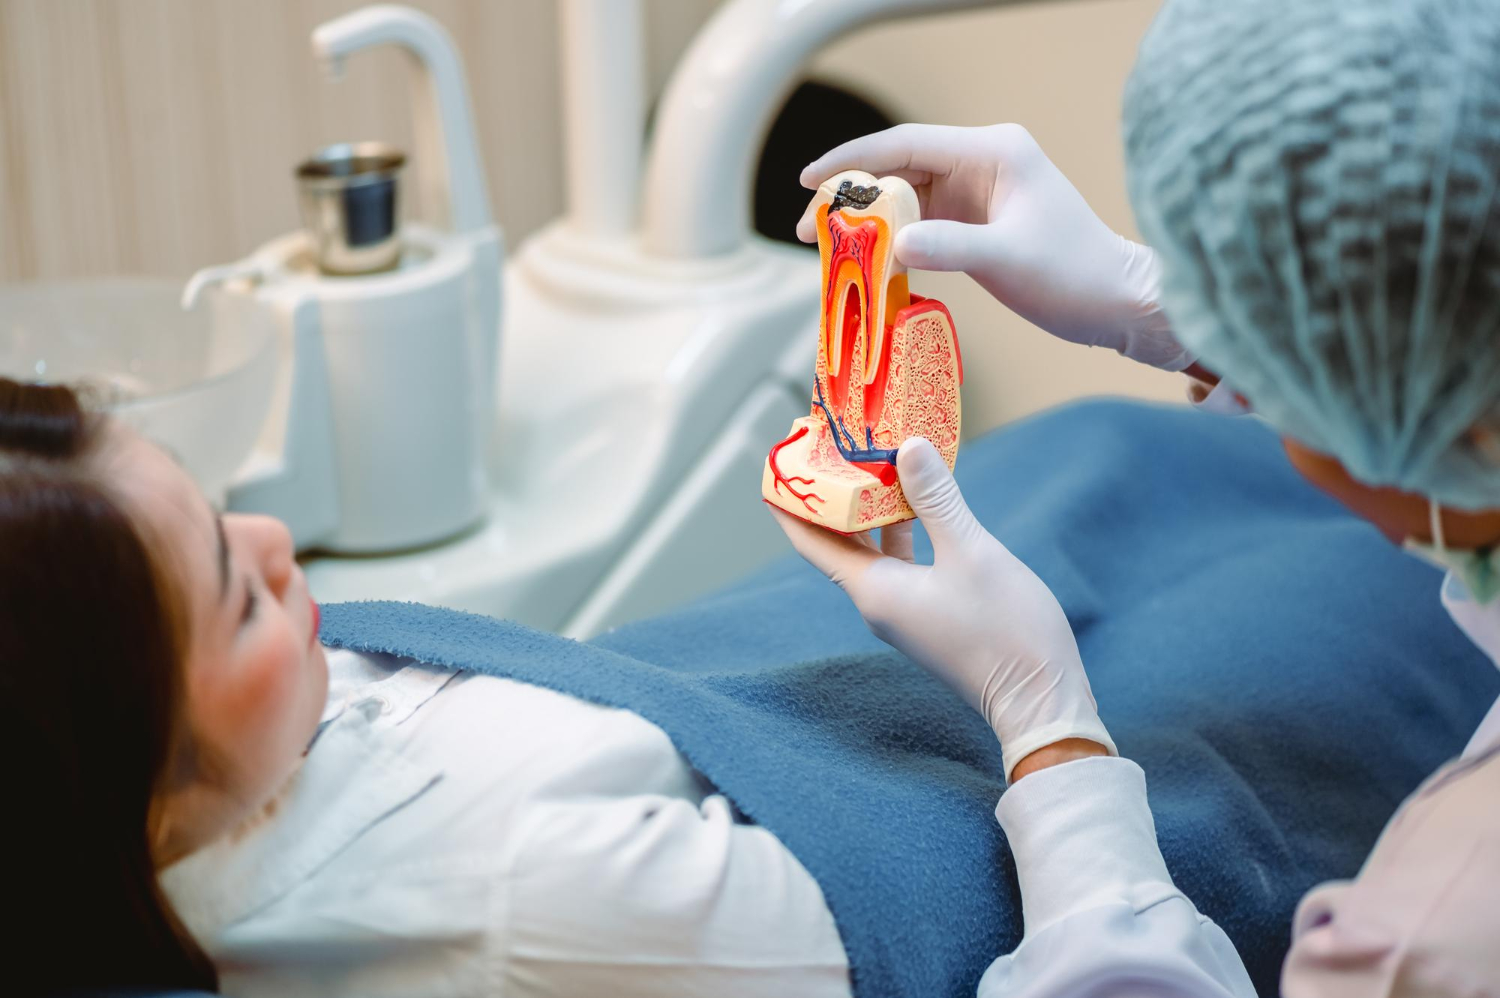
Teeth get all the attention during a checkup, but gums are usually the ones falling behind. Once bacteria pack themselves below the gumline where a toothbrush can’t physically reach, your gums start losing ground in a fight your teeth aren’t even part of. Root planing treatment exists specifically to close that gap, going after buildup that’s settled in spots regular brushing was never designed to clean.
We want to walk through what this procedure involves step by step, because “deep cleaning” gets thrown around so casually that people rarely understand what’s really happening in that chair.
Why “Deep Cleaning” Undersells What’s Happening
Calling it a deep cleaning makes it sound like a longer version of your regular six-month visit. It isn’t. Root planing treatment targets the root surface itself, smoothing out rough patches where bacteria and hardened tartar have collected below where the gum tissue meets the tooth.
That root surface, under a microscope, often looks jagged and pitted after years of bacterial buildup, and smoothing it out does something a standard cleaning never touches, it removes the rough texture bacteria use to grab hold and multiply again.
Quadrants: Why Your Mouth Gets Treated in Sections
Here’s something rarely explained clearly. Most patients don’t get their entire mouth treated in one sitting.
Dentists typically divide the mouth into four sections, upper right, upper left, lower right, lower left, and treat one or two quadrants per visit. This isn’t about spreading out cost or scheduling convenience.
Numbing an entire mouth at once makes eating and speaking difficult for hours afterward, and treating smaller sections allows for more thorough, unhurried work in each specific area rather than rushing through the whole mouth in a single sitting.
Hand Instruments Versus Ultrasonic Tools
Two different tool types typically show up during root planing treatment, and each serves a slightly different purpose. Ultrasonic instruments use rapid vibration paired with a water spray to break up larger deposits of tartar quickly.
Hand scalers come in afterward for the finer, more precise work, reaching into narrower pockets and smoothing root surfaces with a level of tactile control vibration alone can’t replicate. Most appointments use both, starting broad with ultrasonic tools before switching to hand instruments for the detailed finishing work.
The Numbing Question People Don’t Expect
A lot of patients are surprised that local anesthesia is standard for this procedure, assuming it’s closer to a regular cleaning that doesn’t require any numbing at all. Because root planing treatment works below the gumline in an area with nerve sensitivity. So numbing the section being treated keeps the procedure comfortable enough for the more detailed work involved. Some patients ask for numbing cream instead of an injection for milder cases, though deeper pockets usually call for the more complete numbing an injection provides.
What Reattachment Looks Like Afterward
This is the part almost nobody explains well. Once the root surface is smoothed and bacterial buildup is cleared away, gum tissue has a real chance to reattach more tightly against the tooth as healing progresses.
It won’t rebuild bone that’s already been lost, but the soft tissue itself can tighten back up around the tooth over the following weeks, reducing pocket depth somewhat even without any additional bone regeneration procedures. This natural tightening is one of the more encouraging parts of the whole process, since it happens gradually just from giving the tissue a clean surface to heal against.
The Six to Eight Week Re-Evaluation Nobody Mentions Upfront
Root planing treatment isn’t a one-and-done event followed by silence until your next regular cleaning. Most dentists schedule a re-evaluation visit roughly six to eight weeks later, remeasuring pocket depths to see how much the tissue has responded.
This window matters because gum tissue needs real time to heal and tighten, checking too early wouldn’t show accurate results, and waiting too long risks missing an area that isn’t responding the way it should.
The Soreness Timeline You Should Expect
Mild soreness and sensitivity to temperature are common for several days following treatment, particularly once the numbing wears off.
Roots that were previously covered by tartar buildup are suddenly exposed to air and temperature changes for the first time in years, which explains a chunk of that early sensitivity. This typically settles within a week to ten days as the tissue heals and, in many cases, tightens back around the tooth reducing that exposure gradually.
Why Some Areas Sometimes Need a Second Round
Not every pocket responds evenly. Areas with particularly deep pockets or stubborn bacterial colonies sometimes need a repeat treatment in that same specific spot months later, even when the rest of the mouth healed well the first time.
This isn’t a sign the first attempt failed, some pocket environments are simply more resistant and benefit from a second targeted pass once the tissue has had time to respond to round one.
Making Root Planing Part of a Longer Plan
At Clove Dental Beverly Hills, we treat this procedure as the starting point of ongoing gum management rather than a single fix, checking pocket measurements at every follow-up to track how well tissue is holding steady.
If your dentist has recommended root planing treatment, understanding these details ahead of time makes the whole process feel far more predictable than walking in without knowing what each stage involves.